Pingdom
Overview
This webhook integration lets you track a variety of events logged by Pingdom.
Available events are:
- Incident assigned
- Incident notification of being closed
Compatibility
- Snowplow 0.9.14+ (
POST-capable collectors only) - Pingdom webhook API
Setup
Integrating Pingdom's webhooks into Snowplow is a two-stage process:
- Configure Pingdom to send events to Snowplow
- (Optional) Create the Pingdom events tables into Amazon Redshift
Configure Pingdom
First login to your Pingdom account and click on the Alerting button which will be on the left hand side of the screen.
Now click on Alerting Endpoints in the submenu and then click the Add Alerting Endpoint button in the top right hand corner.
You should now see the following screen:
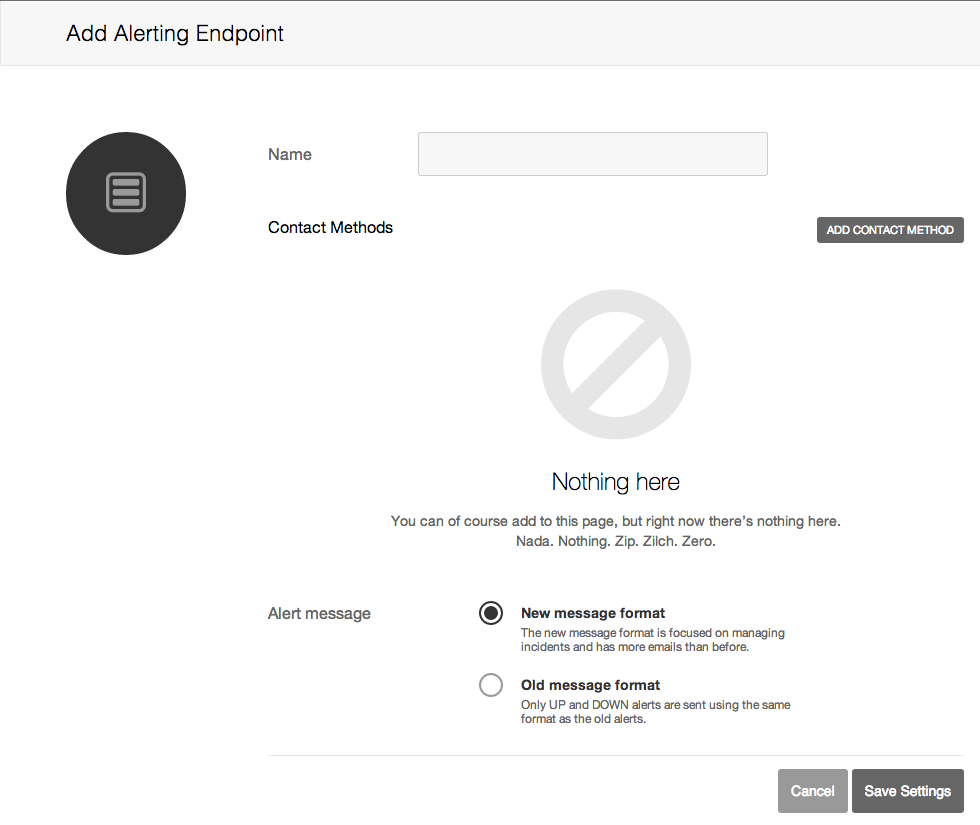
Fill in the name of your new Alerting Endpoint; for example: 'Snowplow Pingdom Webhook'.
Now click Add Contact Method:
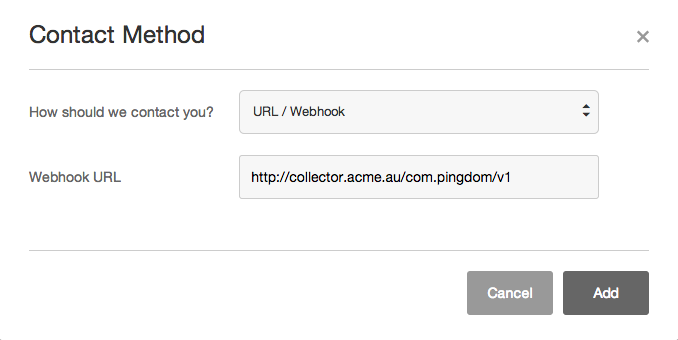
- Select Url/Webhook for the How should we contact you? dropdown menu.
- Fill in your Collector URL in the Webhook URL field.
For the Webhook URL field you will need to provide the URI to your Snowplow Collector. We use a special path to tell Snowplow that these events are generated by Pingdom:
http://<collector host>/com.pingdom/v1?aid=<company code>
The aid= name-value pair in your URI's querystring is optional; this is the app_id parameter taken from the Snowplow Tracker Protocol. You can use it to specify which company in Pingdom these call complete events belong to. Putting it all together, our setup screen now looks like this:
If you want, you can also manually override the event's platform parameter like so:
http://<collector host>/com.pingdom/v1?aid=<company code>&p=<platform code>
Supported platform codes can again be found in the Snowplow Tracker Protocol; if not set, then the value for platform will default to srv for a server-side application.
After we have finished adding the contact method simply click Save Settings.

You will now need to add this endpoint to your Alert Policies for the webhook to be used.
Navigate to the Alert Policies page by clicking the Alert Policies button in the Alerting submenu.
- If you have not set up an Alert Policy before please consult this guide before continuing: Setting up Pingdom Alerts
Now select the policy which you want the webhook to be activated from (click anywhere on the row with the policy), or create an entirely new policy for the webhook.
Select the small dropdown arrow at the end of the description of what is currently occuring for this policy and click Edit.

Now click in the Add more people (cc) field and type in the name that you gave to your webhook endpoint.
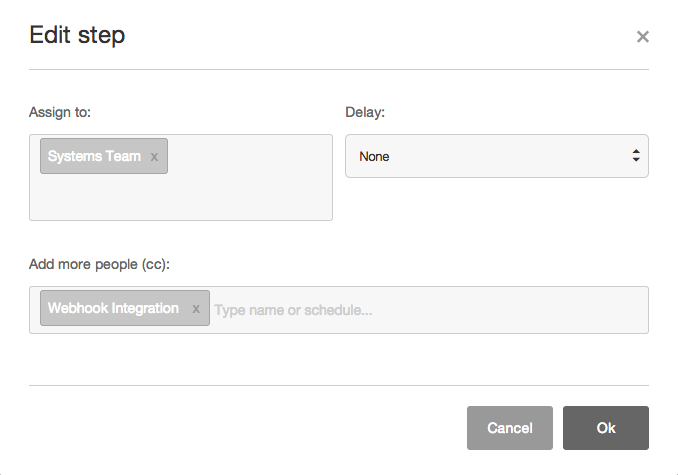
Save the changes you have made to the policy, anything being monitored that has this policy assigned will now trigger the webhook as well!
There are other configurations for how you can send information from Pingdom we suggest having a look at the Pingdom webhook API for more information on contact methods and settings if this method does not suit your needs.